

A graphic organizer is a visual framework that turns scattered ideas into a clear, structured picture, and it works because it matches how kids actually think before they can write it down. If you need a place to start, try a story map for reading, a hamburger paragraph for writing, and a part-part-whole chart for math. Keep reading for age-based picks, free templates, and a simple way to teach any organizer so kids can eventually use it on their own.
TL;DR:
- Using visual supports like photographs and icons enhances comprehension and engagement for young or neurodivergent children before literacy develops fully.
- Focus on the instructional goal and child’s readiness when selecting a graphic organizer, as mismatched types can slow learning progress.
- Emphasize modeling, guided practice, and gradual independence to ensure children effectively learn to use organizers without abandoning them prematurely.
- Keep organizers simple, brightly visual, and consistent in appearance to improve usability and foster repeated use across tasks.
- Digital fillable formats are especially beneficial for children struggling with handwriting, allowing them to concentrate on organizing ideas rather than writing skills.
Table of Contents
- How to Choose the Right Graphic Organizer for a Child
- Graphic Organizers by Purpose: What to Use and When
- Where to Find Free, Printable, and Fillable Graphic Organizers
- How to Teach a Graphic Organizer: Model, Guide, Release
- Adapting Organizers for Young Children and Kids With ADHD or Autism
- Make Your Own Graphic Organizer in 4 Simple Steps
- Why Bright, Hands-On Organizers Actually Stick With Kids
- Edhed Learning Printable Packs to Get Started
- Sources
- FAQ
How to Choose the Right Graphic Organizer for a Child
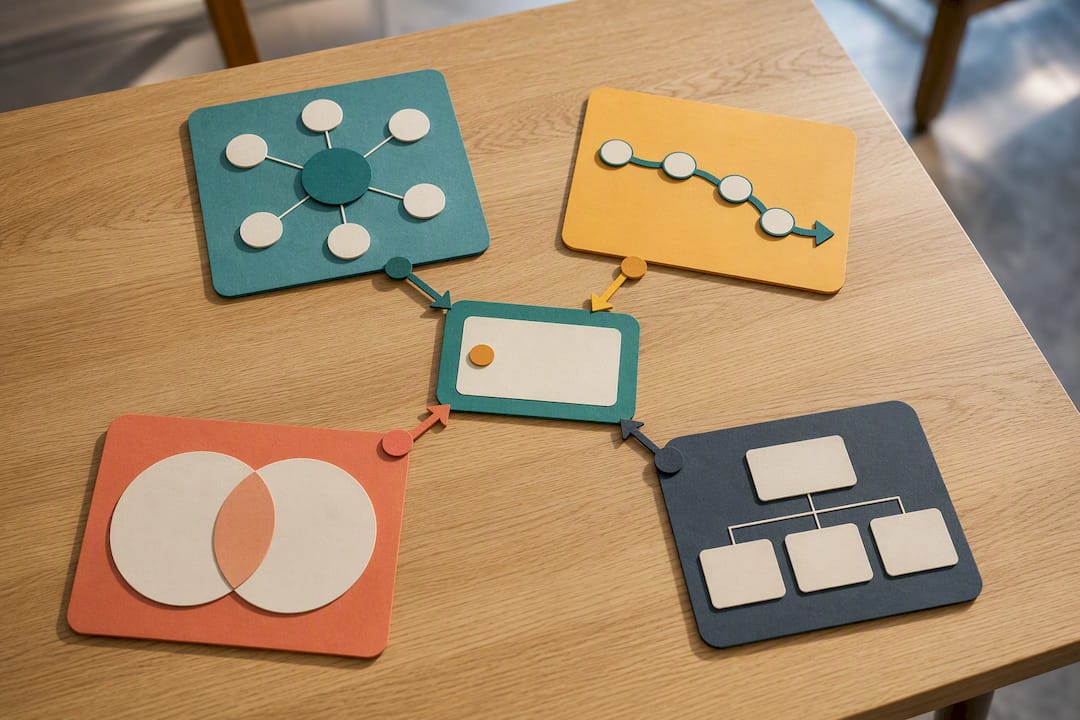
Not every organizer fits every task, and picking the wrong one can slow a child down instead of helping. Start with the instructional goal, not the format. Are you brainstorming, sequencing a process, comparing two things, planning a paragraph, or modeling a math relationship? Each of those calls for a different shape.
Age and skill level matter just as much as the goal. A child who can’t yet write in full sentences needs an organizer built around drawing or photos, while a fourth grader planning a five-paragraph essay needs boxes sized for real sentences. Visual supports work best for younger children when they use real photographs, then shift to icons and text as reading skills develop.
Time available changes the pick too. A 10-minute warm-up before math class calls for something with two or three boxes, not a six-part flow chart. Save the more detailed organizers for tasks that have real room to breathe, like a science report or a book project.
Use this quick checklist when you’re deciding:
- Goal first: brainstorm, sequence, compare, plan writing, or model math?
- Readiness check: can the child draw, write short phrases, or write full sentences?
- Time check: does the task have 10 minutes or 45?
- Visual level: photos for the youngest learners, icons next, text-only once reading is solid.
- Complexity: fewer boxes for shorter attention spans, more for older students who can sustain focus.
Pro Tip: If you’re not sure which organizer fits, ask yourself what you’d draw on a napkin to explain the task to the child out loud. That napkin sketch is almost always the organizer you need.
Graphic Organizers by Purpose: What to Use and When
Sorting organizers by what they’re for, rather than by name, makes it much easier to grab the right one under time pressure. Here’s how the most common types break down by instructional purpose.
-
Idea generation. Word webs and spider maps put a central topic in the middle with lines branching out to related ideas. Use one when a child is stuck on “what should I write about,” whether that’s a story idea or a science topic like “things that float.”
-
Organization and categorization. T-charts and three-column charts sort information into labeled groups. They’re useful for separating facts from opinions in a persuasive piece, or sorting vocabulary words by meaning before a spelling quiz.
-
Sequencing and process. Flow charts and timelines lay out steps or events in order. Reach for these with science experiments, historical timelines, or any multi-step procedure like “how to make a peanut butter sandwich,” a classic early sequencing exercise.
-
Relationship and analysis. Venn diagrams and cause and effect charts show how two or more things connect or influence each other. Graphic organizers like these are staples for comparing two book characters, two countries, or two possible solutions to a problem.
-
Reading and text understanding. Story maps, Five W’s charts, and KWL charts (what I Know, what I Want to know, what I Learned) help kids track detail while they read or take notes afterward. The Iowa Reading Research Center builds reading templates specifically around this kind of structured note taking, and pairing one with focused practice on reading comprehension skills tends to reinforce both at once.
-
Writing and reasoning. The hamburger paragraph (top and bottom “buns” for the topic and conclusion sentences, “filling” for supporting details) and the persuasion map are two of the most reliable tools for planning a paragraph or essay. Reading Rockets notes these are especially useful for kids with dysgraphia or executive-function challenges, since breaking writing into small visual chunks removes a lot of the blank-page pressure.
-
Math modeling. Part-part-whole charts, number bonds, and bar or pie models let kids see fraction and ratio relationships before they ever touch the symbolic notation. The Iowa Reading Research Center’s work on visual math scaffolds shows these models are strongest when introduced before the abstract fraction notation, not after.
Where to Find Free, Printable, and Fillable Graphic Organizers
Quality varies a lot across the internet, so it helps to know where to look first. Research-backed toolkits from reading centers and early-childhood programs tend to be the most reliable, because they’re built to match how kids actually learn a skill, not just how a page looks.
- Research-center and publisher toolkits: these are the safest bet for instructional alignment, since they’re designed by people who study reading and writing development, not just page layout.
- Teacher marketplaces and resource libraries: large selection, but check the listed age range and instructional goal carefully before printing, since quality is inconsistent.
- Fillable PDFs and Google Slides: these let a child type instead of handwrite, which matters for students who struggle with the physical act of writing. Digital fillable formats let kids focus on organizing ideas instead of fighting their own handwriting.
- Print prep matters: use card stock instead of thin paper for anything reused often, laminate organizers meant for daily use, and add Velcro dots to schedule cards so kids can move pieces as they complete steps.
If you’d rather skip the search entirely, curated packs built around specific instructional goals, like number sense or grade-level writing, save the guesswork of matching a random template to your actual lesson.
How to Teach a Graphic Organizer: Model, Guide, Release
Handing a child a blank organizer and expecting them to know what to do with it is one of the most common mistakes in this space. Explicit instruction works far better, and it follows a simple three-step arc.
-
Model it out loud. Fill out the organizer yourself first, in front of the child, while talking through your thinking. “I’m putting the shark in this box because it’s a fact I already know” makes the invisible thought process visible.
-
Guide practice together. Complete the next organizer as a team, asking questions instead of giving answers: “What goes in this next box?” This step should feel collaborative, not like a quiz.
-
Release gradually. Let the child try one mostly alone, but stay nearby for quick check-ins. Reduce your prompts a little more each time.
-
Check and celebrate. A quick exit ticket, where the child explains one box out loud, tells you whether the organizer actually stuck. Finishing an organizer is worth acknowledging every time, especially early on.
This model-guide-release approach mirrors standard explicit-instruction practice in classrooms: demonstrate, practice together, then step back only once the student shows real understanding. Skipping straight to independent use is the single biggest reason organizers get abandoned after one try, and it’s worth pairing this routine with broader visual learning strategies so the skill generalizes beyond one worksheet.
Pro Tip: Don’t introduce a second organizer type until the first one feels automatic. Kids need repetition with one format before a new shape stops feeling like starting over.
Adapting Organizers for Young Children and Kids With ADHD or Autism
A four-box organizer with strong pictures will outperform a busy, text-heavy one for almost any young or neurodivergent learner. The fix usually isn’t a different subject, it’s a simpler visual.
- Use real photographs tied to the child’s actual life (their own bus, their own teacher) rather than generic clip art for nonverbal or very young learners, since visual supports research shows generic icons can fail until symbolic understanding develops.
- Shift from photos to icons, then to text, as literacy grows.
- Visual schedules and first/then boards reduce transition anxiety by showing exactly what comes next.
- Cut the number of boxes for kids with working-memory limits. Fewer, bolder visuals beat a crowded page every time.
- Add interactive elements, like Velcro pieces or moveable cards, so completing a step feels tangible.
Head Start’s guidance recommends starting visual supports as early as 16 to 36 months, which tells you how young this strategy can start working. For kids where ADHD and autism traits overlap, it’s worth reading how the two conditions differ before assuming which adaptation fits best.
Make Your Own Graphic Organizer in 4 Simple Steps
You don’t always need a template. Sometimes a blank sheet and four minutes get the job done just as well.
- Pick one goal. Decide exactly what the organizer needs to capture, whether that’s three-story events or two fraction parts, and count how many boxes or steps that goal actually needs.
- Choose the visual level. Photos for the youngest kids, simple icons for early readers, text and short phrases for kids who read comfortably.
- Lay it out clearly. Leave real space for answers, label every box in plain language, and keep the layout the same every time you reuse it, whether it’s drawn by hand, built in slides, or filled out as a PDF.
- Test it, then simplify. Try it with one child first. If they stall out, cut a box or swap in a stronger picture, then reuse the fixed version going forward.
Consistency in where a visual tool lives and how it looks matters more than most people expect, especially for younger kids who rely on routine to feel secure, a point worth keeping in mind whether you’re building a school organizer or a home routine chart.
Why Bright, Hands-On Organizers Actually Stick With Kids
The organizers that get used again and again aren’t the most detailed ones, they’re the ones a child can look at and immediately understand without a long explanation. That’s the design principle behind everything Edhed Learning builds: strong visuals doing the heavy lifting, so the child’s mental energy goes toward the thinking, not toward decoding the page. We test every organizer with real kids before it ships, watching for the exact moment a child either lights up or gets confused, and we redesign around the confusion every time.
— Shaun
Edhed Learning Printable Packs to Get Started
If you’d rather start with something ready-made than build an organizer from scratch tonight, Edhed Learning has bundles built around exactly the goals covered above. For math and data work, Data & Graphs for Kids pairs visual modeling with printable practice so number relationships click faster than a plain textbook page.
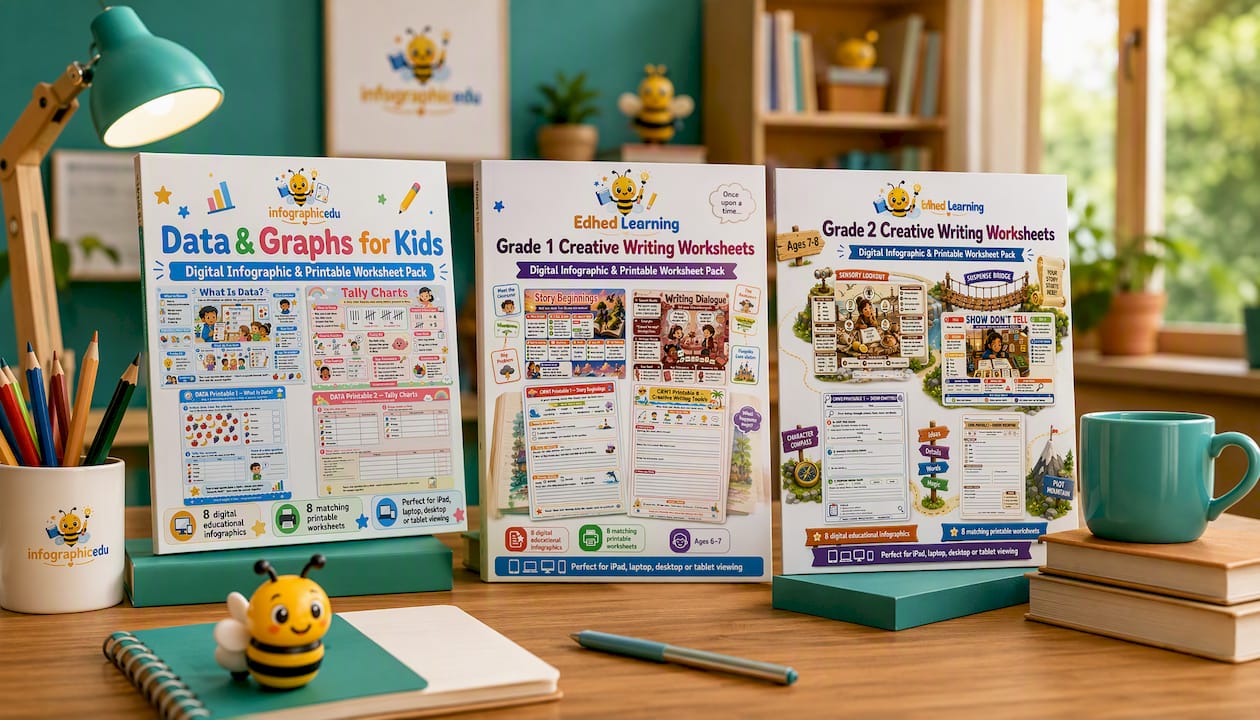
For younger writers still building paragraph structure, the Grade 1 Creative Writing Worksheets pack uses the same hamburger-paragraph logic covered earlier, scaled to early writers. Slightly older students get the same scaffolding with more room to stretch in the Grade 2 Creative Writing Worksheets pack. Every pack comes in fillable formats for kids who struggle with handwriting, and uses bright visuals designed to make an organizer easy to understand quickly. Start with one free sample sheet, run it with a single child during one lesson, and see how much faster the concept lands before committing to a full pack.
Sources
- Graphic organizers (Colorín Colorado)
- Visual supports (Head Start)
- Graphic organizers to help kids with writing (Reading Rockets)
- Reading graphic organizers (Iowa Reading Research Center)
- Visual supports (Center for Autism and Related Disabilities, UF)
FAQ
What are the 5 types of graphic organizer examples?
Five common types are Venn diagrams (comparison), KWL charts (reading and research), story maps (reading comprehension), flow charts (sequencing), and hamburger paragraphs (writing structure).
How do graphic organizers help kids with ADHD?
They break a task into smaller visual steps and reduce transition anxiety, especially when paired with a first/then board or a simplified schedule with fewer boxes and stronger visuals.
What are the most common graphic organizers used in classrooms?
The most widely used include Venn diagrams, KWL charts, story maps, T-charts, timelines, flow charts, hamburger paragraphs, persuasion maps, Five W’s charts, and part-part-whole math charts.
How do you make a simple graphic organizer by hand?
Pick one goal, choose photos, icons, or text based on the child’s reading level, draw clearly labeled boxes with room for answers, and test it with one child before reusing it.
Are digital graphic organizers better than printable ones?
Neither is better outright. Fillable PDFs and digital slides help kids who struggle with handwriting focus on organizing ideas, while printables work well for younger children who benefit from drawing and physical manipulation.


